Homemade Bone Broth
- jhiggins
- Apr 27
- 2 min read
Homemade Bone Broth: The Unglamorous Thing I Make When My Body Needs It
It's not pretty. It doesn't photograph well. And honestly, it simmers away quietly on my stove without any fanfare.
But for my gut and hormones, homemade bone broth is one of the most powerful things I make.
Why Bone Broth?
Bone broth is rich in collagen and gelatin, two things your gut lining genuinely needs. If you've been dealing with bloating or food sensitivities, supporting your gut lining is one of the most important places to start.
It's also a meaningful source of glycine, an amino acid that helps regulate cortisol. That means every cup is quietly working on your hormone balance. Glycine also has a natural calming effect on the nervous system, which is why a warm cup before bed feels so good. It's not just comfort, it's actually doing something.
I don't make this every week. I make it when my body is asking for it. There's something to be said for learning to listen to those cues.
And because I make it myself, I know exactly what's in it. No seed oils. No "natural flavours." No mystery. Just real food doing real work.
What you need:
Marrow bones from the butcher (ask for marrow bones, worth it)
Filtered water (enough to cover the bones fully)
1 large onion, roughly chopped
1 full bulb of garlic, halved
2–3 tbsp dried rosemary
2–3 tbsp dried basil
2 tbsp apple cider vinegar
Step 1: Roast the Bones
Preheat your oven to 375°F. Spread the bones on a baking sheet and roast for about 10 minutes per side, until they're nicely browned. This step makes a big difference in flavour, so don't skip it.
Step 2: Build Your Broth
Add the roasted bones to a large pot. Add the onion, garlic, rosemary, basil, and apple cider vinegar. Cover everything with filtered water. The ACV helps draw the minerals out of the bones.
Step 3: Simmer Low and Slow
Bring to a gentle simmer and let it go for 24 hours. Keep an eye on the water level and top it up as needed to keep the bones covered. You'll notice a film forming on the surface, skim that off as it appears. Those are impurities releasing from the bones and you don't want them in your finished broth.
Step 4: Strain and Cool
After 24 hours, strain the broth through a fine mesh strainer, removing everything except the liquid. Let it cool completely before transferring to jars and placing in the fridge.
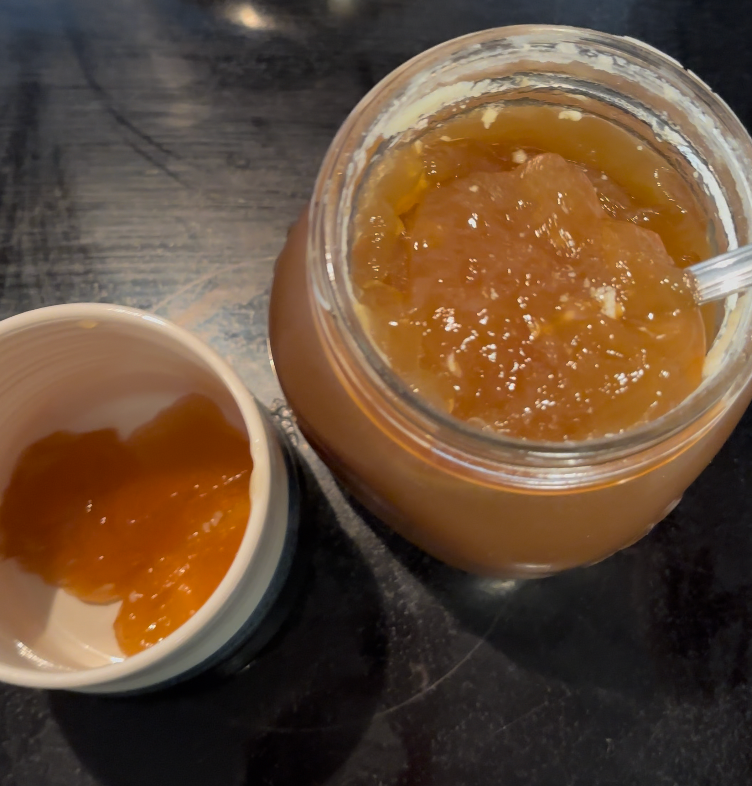
Step 5: The Next Day
When you open your jar, you'll see a layer of fat that has solidified on top. Remove that. What's underneath is your bone broth jelly. That jiggly texture? That's the gelatin. That's exactly what you want.
Heat gently and enjoy 1–2 cups per day.

A Few Notes
Marrow bones give you the richest, most nutrient-dense broth. Ask your butcher, they're usually very affordable and sometimes free.
The apple cider vinegar is not optional. It pulls minerals from the bones into the broth. You won't taste it in the finish
Sip and enjoy!


Comments